Happy Holidays Everyone! I have been trying to write this post for a long time, but did not get a chance to finish it. We actually made these cute little snow globes as a return gift for Akira’s first birthday party – Winter Wonderland theme. The Mason Jar Waterless Snow Globe looked so adorable and everybody at the party really loved it. They were just perfect for the Winter Wonderland theme party, but they can very well make a perfect holiday gift as well.
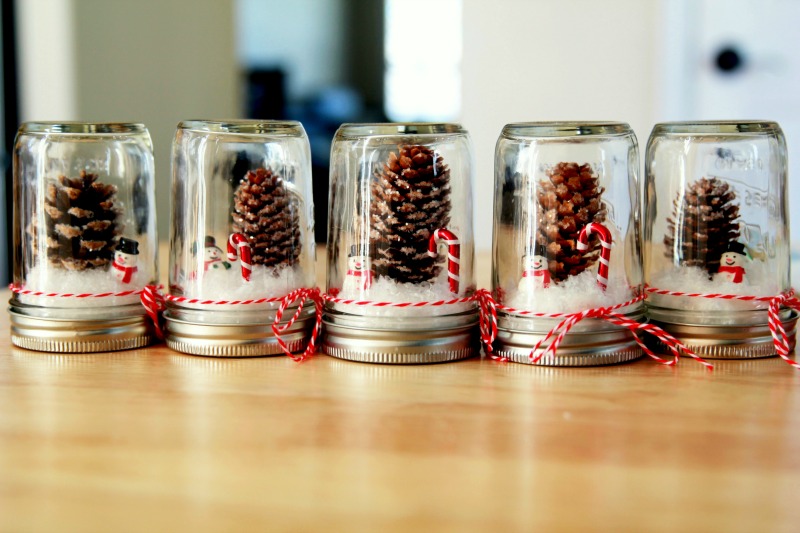
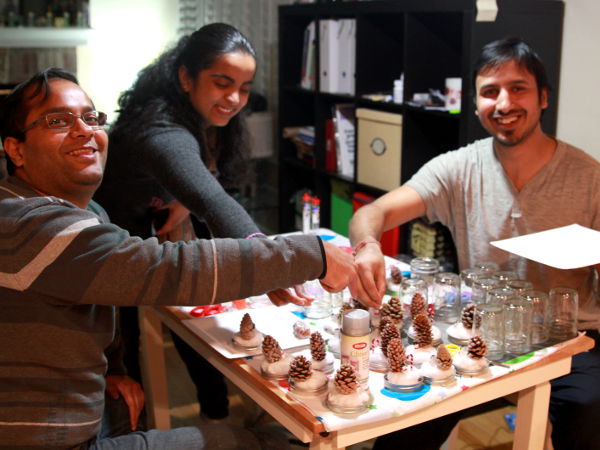
We had to make around 30 of the them, so had to take help from our dear friends Akshatha and Kishore who generously decided to help us with the other party arrangements as well! It was actually so much fun doing it together. We collected the pine cones together on a walk and then brainstormed on what is the best way to make it 🙂
P. S. I just gave the instructions for most of them. All the hard work was done by these guys.
Supplies for making Mason Jar Waterless Snow Globe
The best part of having birthdays during the holidays is that you find a lot of things on sale. If you have the basic supplies like glue and glue gun, then this snow globe is fairly inexpensive to make.
-
Mason Jars
You get packs of them on sale during the holidays. I bought 3 packs with each having 12 half pint jars @ $9/pack. (If you are a mason jar craft addict then this is the time to buy them :)) Just be careful not to buy the jars with lot of design on them, as you want the snow globe to show through.
-
Pine Cones
Free! It is Denver! You have pine trees all around. Just a walk with the friends and we had a bagful of fresh fallen pine cones. You can also buy them from the craft stores, but be careful of the size that you buy. I collected small and tall ones which would fit inside the mason jar. I actually liked the cones from the western white pine trees as they are taller and narrower. But you don’t find them in the stores.
-
Thermocol or Styrofoam sheet
Free! Well this came as part of the Thanksgiving shopping we did. 😉
-
Precision knife
I just used the ones I bought from the Dollar Store. You get 3 of them for $1.
-
Self-healing mat
I used this to cut the thermocol pieces for the base of the globe. If you don’t have it, you can use a cardboard piece or a box to protect the work area from scratches. I bought it for $6 on sale from crafts store.
-
Hot Glue Gun
I did not own a hot glue gun before, so I bought it from Joann @ $12.99. You could also buy it from any other store. I really like this one, and quite happy with it.
-
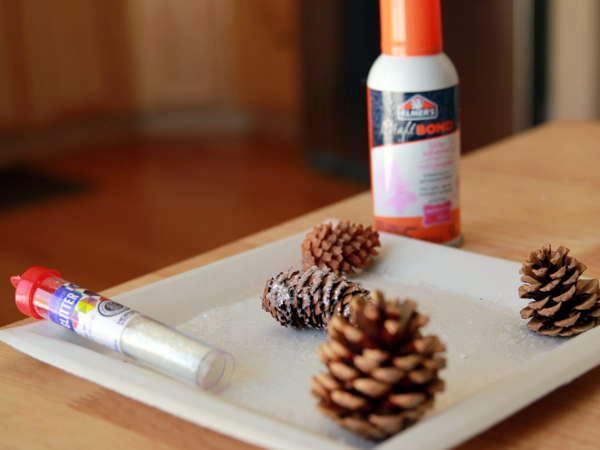
Glitter
I wanted to use them as snow sparkles on the pine cone trees. You can also use the glitter spray, but I like the effect of the chunky sparkles more than the extra fine one. These actually gave it a nice effect. I bought 2 of these for $1 each from Walmart.
-
Spray Glue
I used these to stick the sparkles on the cone trees. I bought it from craft store @ $7.
-
Miniature ornaments
You can buy them from any craft stores during the holidays. Since I had to order in bulk and had some time in hand, I ordered it from AliExpress(The delivery was faster than mentioned, but you need to give it 2 weeks). I also love the miniature ornament collection from Factory Direct Craft. I also bought some miniature candy cane decorations from Michael’s. In total I spent around $8 for it.
-
Fake snow (optional)
I used them to cover the base of the jar and trees to give snowy effect. This was again bought from the craft stores for around $3-$4. I think you can just work with cotton and glitter, but it added more texture and fun to the snowscape.
-
Cotton balls
$0 spent on it, as I already had them. I used them to cover the base of the jar. It gave more volume and nicer look than the fake snow.
-
Baker’s twine
I used this to decorate the snow globes. Spent another $3 on it.
So in total I spent around $70 on the project to make 36 snow globes, which is around $2 per snow globe. Pretty good for the party favor, right? They surely look more expensive and so much nicer than a store bought gift. Plus, I got to keep all the basic craft supplies, which I am still using 🙂
Steps for making Mason Jar Waterless Snow Globe
-
Prepare the pine cones
If you collected your own pine cones, then make sure they are clean. Wash them and dry them in the sun, if required. I actually got clean pieces and did not have to wash them. I also did not have to use any varnish on them and they still look good even after one year.
-
Cut the thermocol/styrofoam sheets
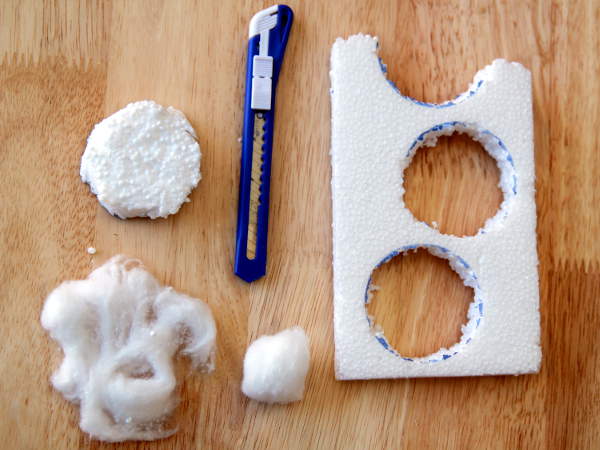
My thermocol sheet was too thick for the jar. So I sliced it roughly to get a sheet as thick as the height of the lid. This way the tree and ornaments were visible completely and placed on top of the lid area. Now using the inner lid mark circles on the sheet. Now using the precision knife cut along the markings to get a circle piece. We need to make sure that the pieces are cut smaller than the inner lid so that we can close the mason jar after we are done with all the arrangements.
-
Make the globe base
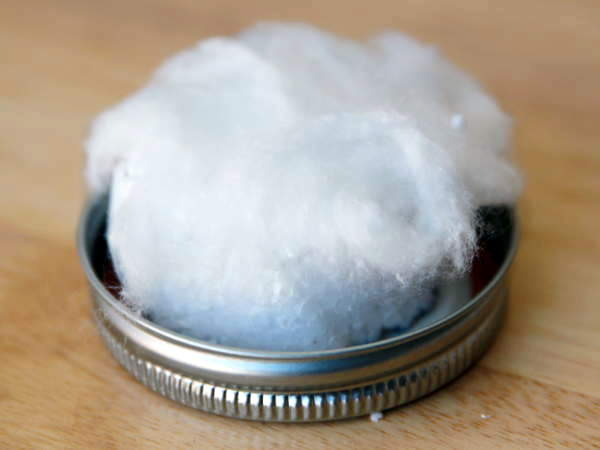
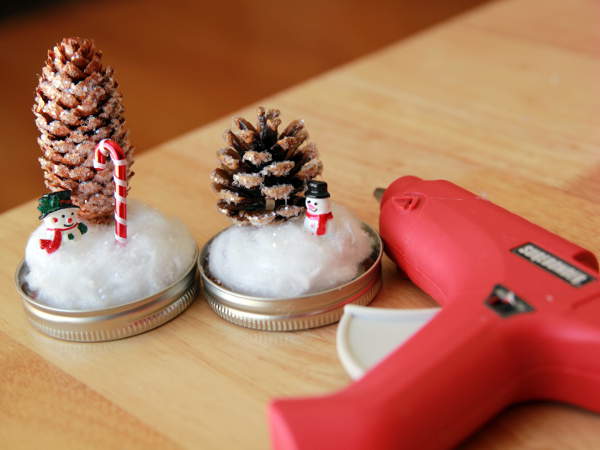
Now tear a portion of cotton balls and flatten it on top of the circles we have cut above. Now using the hot glue gun, stick the flattened cotton on top of the thermocol circle pieces. Now stick this circle piece on the inside edge of the lid.
-
Sparkle up the cones
Transfer the glitter on a paper plate. Now spray the cone tree with glue. While the glue is still wet, roll it in the plate full with glitter. Now you have a sparkly snowy tree!
-
Arrange the cones and ornaments
Now using the hot glue, stick the pine cone tree on one edge of the base. Place the miniature snowman in front of the tree and stick it using the glue gun. You can also use some other miniature pieces like the candy can I used. Arrange them in a manner that when we place the jar on top of the lid, it closes properly.
-
Close the jar
Now give a final check to the arrangement. Sprinkle some snow and glitter at the base and on top of ornaments as desired. Now carefully bring the jar on top of the lid and close it.
-
Add final touch
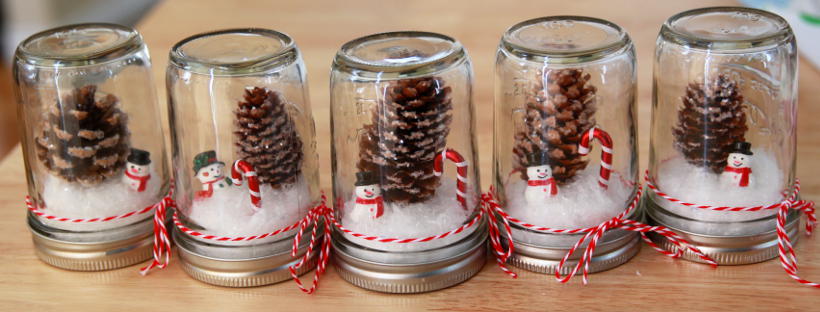
Take a piece of the bakers twine and tie it above the lid of the mason jar. Now, your snow globe is ready for gifting! You can also add little bells at the end of the twine or use some tags along with it.
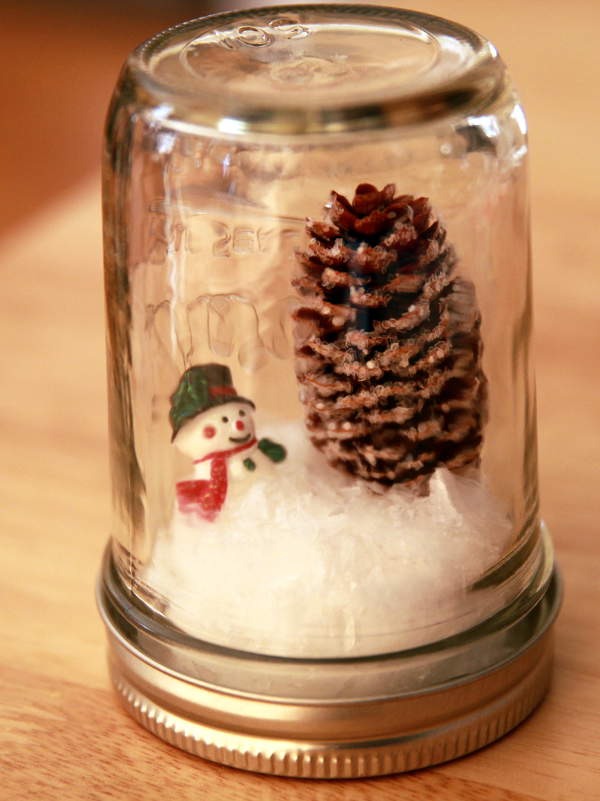
Aren’t these cute? It will be fun to make these with the kids as well. Mine was not even 1 for this. 🙂
So are you up for some mason jar craft time? Did you make something for the holidays too?


मस्त
धन्यवाद! 🙂
This looks really cool. Surely gonna try it too for my daughter. Thanks for sharing it.. 🙂
http://www.colossalcloset.in/live-well-say-no-to-drugs/
Thank you Mansi! Hope you enjoy making it too 🙂
How do you get the cones to stand up straight?
We just used a lot of hot glue 🙂
Few of them were a little lopsided, but still looked cute.
What size mason jars are those? Thanks, it’s cute!
Thank you so much, they were really fun to make as well.
We used the regular half pint 8oz jars.